
深入解析印泥的制作工艺:探寻艺术背后的故事
女神内控
2024-10-12 19:24:52
0次
深入解析印泥的制作工艺:探寻艺术背后的故事
印泥,作为一种传统的手工艺品,承载着深厚的文化内涵和艺术价值。其制作工艺独特,技艺精湛,每一道工序都蕴含着匠人的心血和智慧。接下来,我们将深入解析印泥的制作工艺,探寻其背后的故事。
一、印泥的制作原料
 二、印泥的制作工艺
1. 原料预处理:将颜料、油料等原料进行筛选、清洗、晾干等预处理工作,确保原料的纯净度和质量。
2. 混合搅拌:将预处理后的原料按照一定比例混合在一起,进行搅拌,使各种原料充分融合。
3. 研磨调色:将混合后的原料进行研磨,使颜料更加细腻,颜色更加鲜艳。同时,根据需要调整颜色的深浅和亮度。
4. 填充料添加:在研磨后的印泥中加入填充料,如麝香、珍珠粉等,以调节印泥的硬度和黏度。
5. 搅拌成型:将添加了填充料的印泥再次进行搅拌,使其成型。此时,印泥的硬度和黏度已经达到最佳状态。
6. 晾干定型:将成型的印泥放置在通风处晾干,使其定型。在晾干过程中,要避免阳光直射和潮湿环境。
7. 包装成品:将定型后的印泥进行清洗、修剪、抛光等处理,然后进行包装,成为成品。
三、艺术背后的故事
印泥的制作工艺虽然看似简单,但却蕴含着深厚的文化内涵和艺术价值。每一道工序都需要匠人用心去完成,以确保印泥的品质和艺术价值。在这个过程中,匠人们不仅传承了祖先的智慧和技艺,还不断创新和改进,使印泥的制作工艺更加精湛。
此外,印泥在传统文化中有着重要的地位。它不仅是文人墨客书写、篆刻的必备工具,还承载着祝福、纪念等寓意。在婚礼、寿宴等重要场合,人们常常使用印泥来盖章、留念,以表达对美好生活的向往和祝福。
总之,印泥的制作工艺不仅是一种手艺,更是一种文化传承和艺术表达。通过深入了解其制作工艺和背后的故事,我们可以更好地欣赏和传承这一传统艺术形式。
The In-Depth Analysis of the Production Process of Inkstick: Exploring the Story Behind the Art
二、印泥的制作工艺
1. 原料预处理:将颜料、油料等原料进行筛选、清洗、晾干等预处理工作,确保原料的纯净度和质量。
2. 混合搅拌:将预处理后的原料按照一定比例混合在一起,进行搅拌,使各种原料充分融合。
3. 研磨调色:将混合后的原料进行研磨,使颜料更加细腻,颜色更加鲜艳。同时,根据需要调整颜色的深浅和亮度。
4. 填充料添加:在研磨后的印泥中加入填充料,如麝香、珍珠粉等,以调节印泥的硬度和黏度。
5. 搅拌成型:将添加了填充料的印泥再次进行搅拌,使其成型。此时,印泥的硬度和黏度已经达到最佳状态。
6. 晾干定型:将成型的印泥放置在通风处晾干,使其定型。在晾干过程中,要避免阳光直射和潮湿环境。
7. 包装成品:将定型后的印泥进行清洗、修剪、抛光等处理,然后进行包装,成为成品。
三、艺术背后的故事
印泥的制作工艺虽然看似简单,但却蕴含着深厚的文化内涵和艺术价值。每一道工序都需要匠人用心去完成,以确保印泥的品质和艺术价值。在这个过程中,匠人们不仅传承了祖先的智慧和技艺,还不断创新和改进,使印泥的制作工艺更加精湛。
此外,印泥在传统文化中有着重要的地位。它不仅是文人墨客书写、篆刻的必备工具,还承载着祝福、纪念等寓意。在婚礼、寿宴等重要场合,人们常常使用印泥来盖章、留念,以表达对美好生活的向往和祝福。
总之,印泥的制作工艺不仅是一种手艺,更是一种文化传承和艺术表达。通过深入了解其制作工艺和背后的故事,我们可以更好地欣赏和传承这一传统艺术形式。
The In-Depth Analysis of the Production Process of Inkstick: Exploring the Story Behind the Art
 I. Raw Materials of Inkstick
The main raw materials of inkstick include pigments, oils, fillers, etc. Pigments are the main component of inkstick, commonly including vermilion and scarlet. Oils are used to mix pigments and increase viscosity, such as castor oil. Fillers are added to adjust the hardness and viscosity of inkstick, such as musk and pearl powder.
II. Production Process of Inkstick
1. Raw Material Preparation: Screen, clean, and dry the pigments and oils for pre-treatment to ensure their purity and quality.
2. Mixing and Stirring: Mix the pre-treated raw materials in a certain proportion and stir to fully integrate them.
3. Grinding and Color Adjustment: Grind the mixed raw materials to make the pigments more delicate and the colors more vibrant. At the same time, adjust the depth and brightness of the colors according to needs.
4. Filler Addition: Add fillers such as musk and pearl powder to the ground inkstick to adjust its hardness and viscosity.
5. Stirring and Molding: Stir the inkstick with added fillers to achieve the desired shape. At this point, the hardness and viscosity of the inkstick have reached the best state.
6. Drying and Setting: Place the shaped inkstick in a well-ventilated area to dry and set. During the drying process, avoid direct sunlight and damp environments.
7. Packaging: Clean, trim, polish the set inkstick, and then package it as a finished product.
III. The Story Behind the Art
I. Raw Materials of Inkstick
The main raw materials of inkstick include pigments, oils, fillers, etc. Pigments are the main component of inkstick, commonly including vermilion and scarlet. Oils are used to mix pigments and increase viscosity, such as castor oil. Fillers are added to adjust the hardness and viscosity of inkstick, such as musk and pearl powder.
II. Production Process of Inkstick
1. Raw Material Preparation: Screen, clean, and dry the pigments and oils for pre-treatment to ensure their purity and quality.
2. Mixing and Stirring: Mix the pre-treated raw materials in a certain proportion and stir to fully integrate them.
3. Grinding and Color Adjustment: Grind the mixed raw materials to make the pigments more delicate and the colors more vibrant. At the same time, adjust the depth and brightness of the colors according to needs.
4. Filler Addition: Add fillers such as musk and pearl powder to the ground inkstick to adjust its hardness and viscosity.
5. Stirring and Molding: Stir the inkstick with added fillers to achieve the desired shape. At this point, the hardness and viscosity of the inkstick have reached the best state.
6. Drying and Setting: Place the shaped inkstick in a well-ventilated area to dry and set. During the drying process, avoid direct sunlight and damp environments.
7. Packaging: Clean, trim, polish the set inkstick, and then package it as a finished product.
III. The Story Behind the Art
印泥的主要原料包括颜料、油料、填充料等。颜料是印泥的主要成分,常用的有朱砂、朱红等。油料则起到调和颜料、增加粘度的作用,常用的有蓖麻油等。填充料则是为了调节印泥的硬度和黏度,如麝香、珍珠粉等。
儿童手指画印泥彩色印泥24色淘宝价:33.60元,售价:12.8元
Inkstick, as a traditional handicraft, carries deep cultural connotations and artistic value. Its unique production process and exquisite craftsmanship reflect the dedication and wisdom of craftsmans. Next, we will delve into the production process of inkstick and explore the stories behind it.
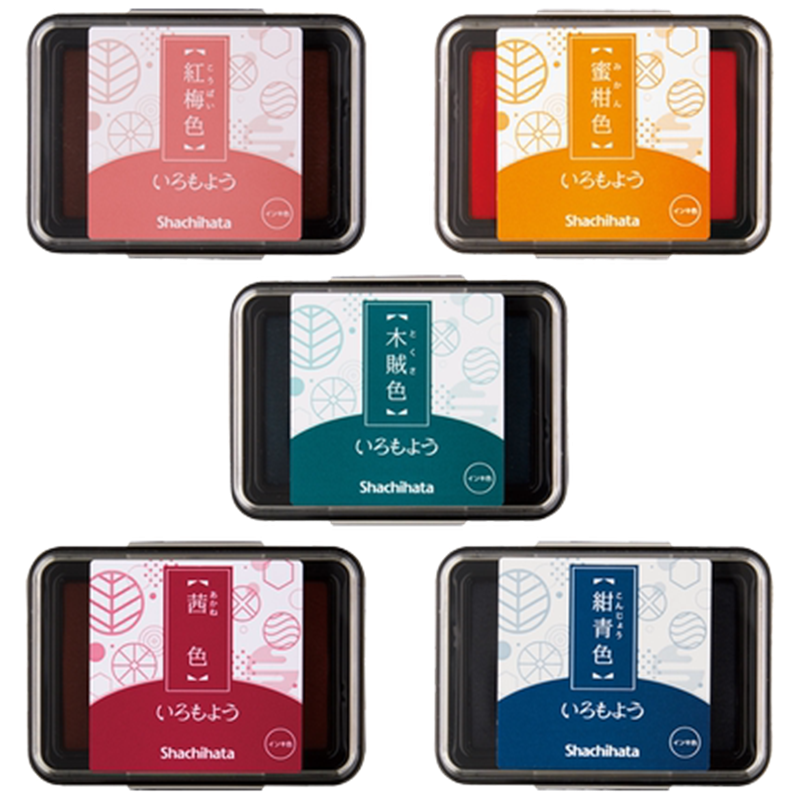
日本旗牌shachihata色和风颜料淘宝价:32.00元,售价:19.8元
Although the production process
gd月猫水滴印台多用布进口手工淘宝价:17.00元,售价:17元
相关内容
热门资讯
印泥的种类与使用技巧,你了解多...
摘要:印泥是用于印章的彩色墨水,分颜色、材料和特殊效果分类。使用时应选合适印泥,保持印章清洁,适量蘸...
如何选择合适的印泥
选择印泥需考虑印章类型、颜色、粘稠度、快干性、耐久性、品牌与质量及环保与安全等因素。可确定使用场景和...
印泥的颜色与质感:如何选择最适...
选择印泥颜色和质感是决定印章效果的重要因素。考虑使用场合、主题、颜色种类和质感、个人偏好与习惯及结合...
如何正确使用印泥进行盖章
本文介绍了如何正确使用印泥进行盖章。首先进行准备工作,包括清洁印章和检查印泥。然后,通过四个步骤和注...
印泥的颜色与质地选择
印泥选择需考虑颜色、质地、使用场景及预算。颜色应满足需求,如红、蓝、特殊色等。油性或水性印泥,需适中...
印泥的保养与维护,让你的印章更...
印泥保养对保持印章清晰和持久至关重要。应保持印泥干燥、适度使用,定期清洁并更换印泥。需存放在阴凉干燥...
不同种类的印泥介绍
印泥是印章艺术的必需品,分多种颜色、质地。常见有红、蓝、黑印泥等,另有特殊用途的夜光和特殊材质印泥。...
印泥的选购指南及注意事项
选购印泥需注意色彩、墨迹浓淡、品质与成分,优先选知名品牌与正规渠道,关注售后服务。选择合适的印泥可提...
不同类型印泥的优缺点解析
本文解析了传统印泥、快干印泥和水性印泥的优缺点。选择时需考虑实际需求和使用环境,注意产品说明和保存使...
印泥与印章的搭配技巧
印泥与印章的搭配涉及材质、形状、大小和颜色等多方面。正确选择印泥颜色和质地,掌握搭配技巧,可形成清晰...